Hi all,
I’d like to take a moment to share with you a few basics about the Hot Stuff Oven Mitt and sewing with silicone.
First of all, I have to tell you that I actually just love using these in the kitchen. Aside from the fun of picking out the fabric and sewing them up, they are amazing to use. At some point last fall when I did the Pass the Hot Dish pattern, I did a video of how that pattern works, and I am embarrassed at my oven mitts, which were old and not very attractive. I decided I needed an oven mitt pattern.
Our family likes to make homemade pizzas. I make the dough and then everyone gets to make their own pizza with the toppings they choose. After the dough rises and we’re ready to get started, I pre-heat the oven to 450 degrees and put the pizza stone in to pre-heat. Then, we get started, everyone putting on their favorite toppings and spices and when we’re done we share each others’ pizzas. It’s a fun family tradition.
The part I didn’t like was taking out the pizza stone. Pizza stones are hot. Very hot. And more than once I’d be making a mad dash to find a place to set that pizza stone down asap as my fingers were getting burned.
Taking hot pans out of the oven is MUCH EASIER now!
So, let’s talk about some of the basics about silicone:
Sewing with Silicone
Sewing with silicone is a new concept, so I’d like to introduce a few basics to you to get started. I have some follow-up posts coming as well to talk about some specific topics.
Fabric Choice
Picking out fabric for these oven mitts is super fun. I recommend taking the silicone overlay out of the package and try on some fabrics right at your local quilt shop. I really love how these look with bright fabrics, especially those with a white background. Here are some fun choices from my testers:
Novelty prints are a great choice. Check out Denise’s cat fabric:
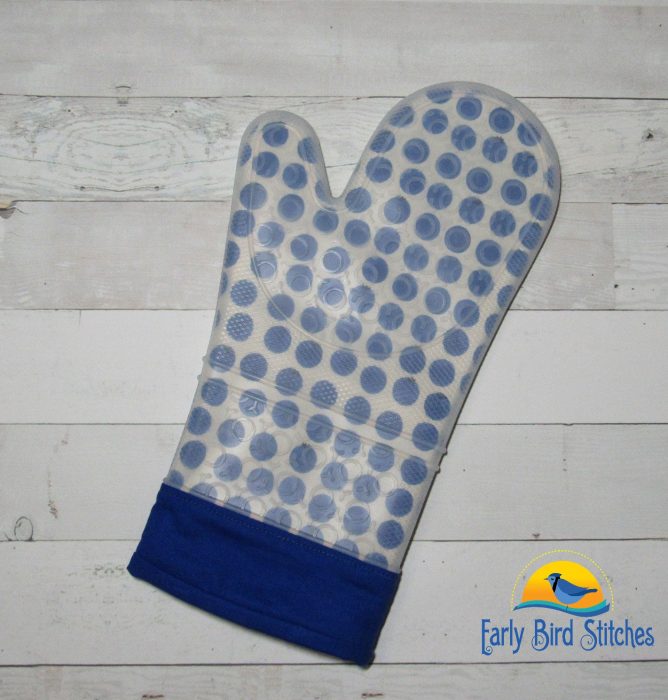
Polka dots look great on the oven mitt. You can read more about it on Cara’s Early Bird Stitches facebook page as well:
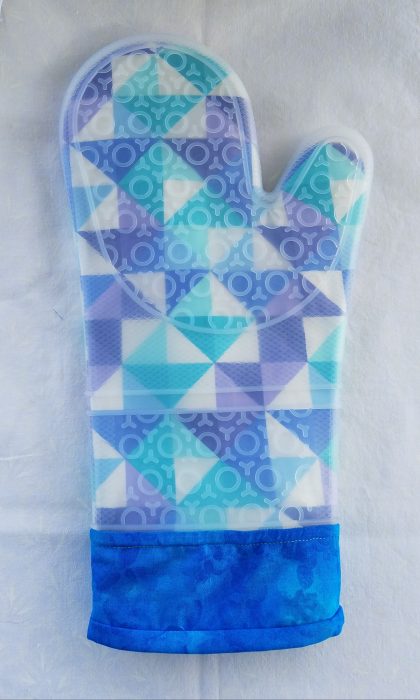
Or try these scrumptious geometrics (Confetti from Me and My Sister), like Pat did with her cute mitt:
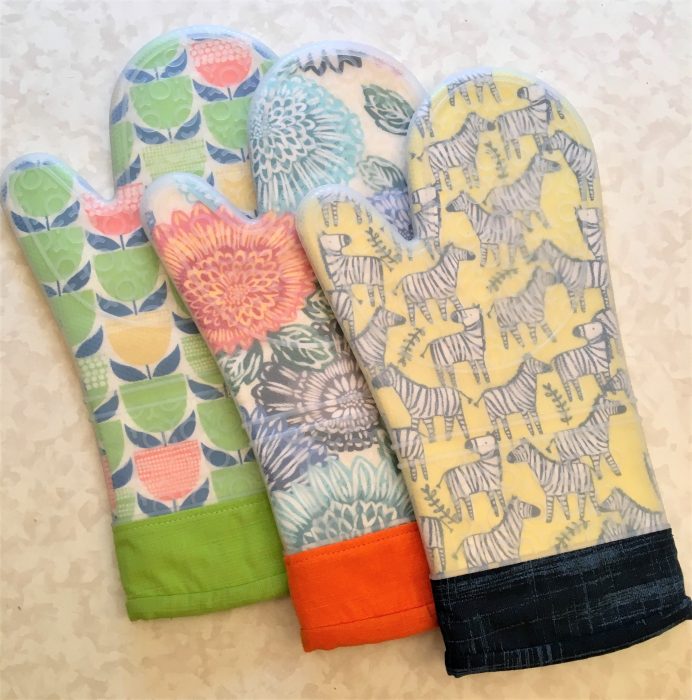
And a few more to give you some other ideas:
Heat Resistant up to 450 degrees and other fun facts
The manufacturer of the silicone overlay says the silicone is heat resistant up to 450 degrees. How awesome is that! When I was holding that pizza stone, fresh out of the oven, I stood there holding it for a couple minutes without issue. At first, I felt no heat and gradually I felt some warmth. It was so nice not to have to do a mad dash to the counter and be confident I wouldn’t get burned.
Also, the silicone is FDA approved food grade silicone. That means it is okay if it touches your food, which makes is feel confident that this is a good addition to our kitchen.
Silicone is easy to stitch through
First off, it is not hard to sew through the silicone. A needle pierces it and goes right through. It is a a little sticky material though, not like it sticks to your hands, but it doesn’t slide through the machine. It grips onto things. When you sew the oven mitt, however, you sew with fabric on both sides of the silicone to avoid this problem. That takes care of the issue.
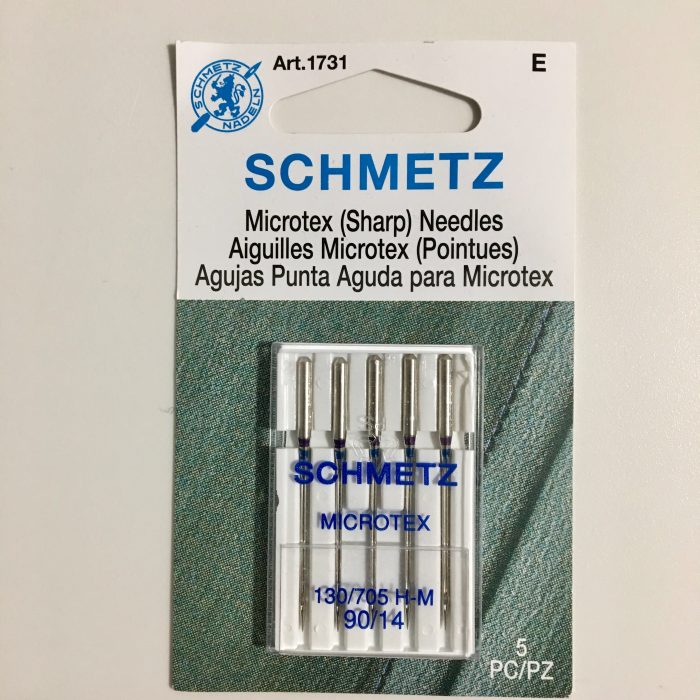
Second, you do need a sharp needle. Don’t try to sew with a dull needle. Most of us don’t change out our needles often enough. For this project, I do recommend a new needle. I’ve been using a Schmetz Microtex 90/14 needle. If you don’t have one, try what you have. But I have had great success with this needle if you are looking for a recommendation.
Washing
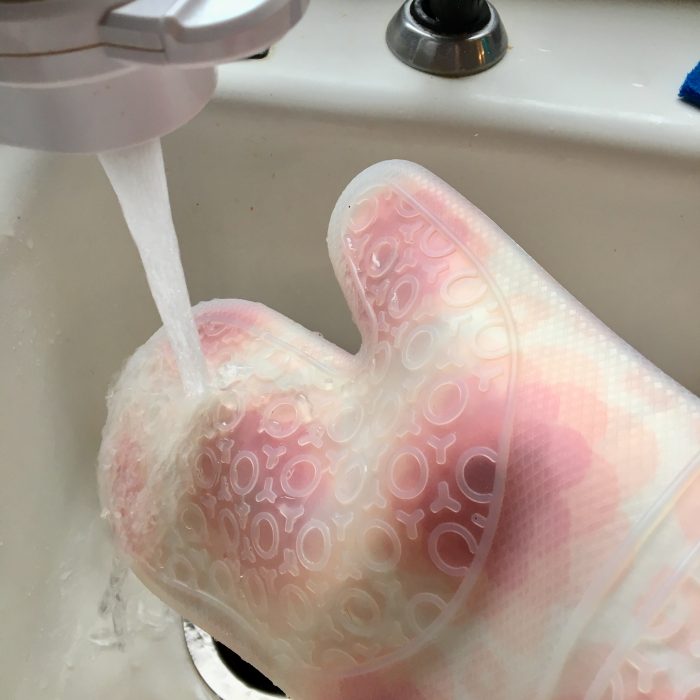
If you’re like me, you reach into the oven and invariably get your thumb into your food as you take it out, and your mitt gets a burned food look to it over time. The silicone oven mitt can be washed under the kitchen sink if you get food on it and you can simply soap it up with dish soap and rinse it off.
Now I’ve been asked a few times now whether the silicone oven mitt can go in the washing machine so I tested it. This is what I found:
- First, the silicone doesn’t shrink but cotton materials do. So this is something you should plan for ahead of time. If you think you’re going to wash them in the washing machine, pre-wash your fabric and batting so that it doesn’t shrink inside the mitt. Mine shrunk a little so that inside fabric was about 1/4″ shorter inside the silicone.
- Second, hang it up to dry. I wouldn’t recommend putting them in the dryer because that adds to the shrinkage. The silicone holds the moisture in a bit so it takes a while to dry, but mine dried just fine hanging up with a clothespin with it was open a bit. It took a full day or so to dry.
- Third, remember you can also handwash the cuff a bit and hang it up. This is what I’d probably do next time. It’s easier. I don’t typically get my oven mitt dirty down by the cuff area so it will be a long time before I’d want to wash it to be honest.
Those are the silicone oven mitt basics. I will be doing a short sewing video to highlight the sewing steps soon.
If you are interested in purchasing the Hot Stuff Oven Mitt, ask at your local quilt shop or get yours here. And if you want to make more than one, refills are available too.
