Hi, welcome to my part in the Pixelating Blog Hop. I’m Lisa from Around the Bobbin (and one half of Twister Sisters!) and I’m excited to be a part of my first blog hop.
Last summer, Toni Smith, aka Quiltoni, asked if I could be a part of the blog hop celebrating the release of her book, and of course I said yes!
Not only is Toni super fun and great at making pixel quilts, but her work is a really great fit with the Twister Tools! More on that later!
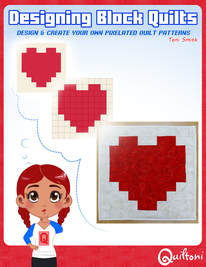
First, let me tell you more about Toni and her book. Toni makes pixel quilts that look like comic book and video game characters, among other things, and now she has a book teaching how to design your own pixel quilt. She teaches 3 methods for making a pixel quilt in her book, while teaching basic quilting and quilt designing techniques.
Toni asked each of us to design a quilt or project using one of the techniques in the book.
I chose the block method (1 pixel = 1 block) so that I could create a pixel quilt then turn it into a twister quilt with our Lil’ Twister tool. The Lil’ Twister tool works with 5″ squares so that’s what I used.
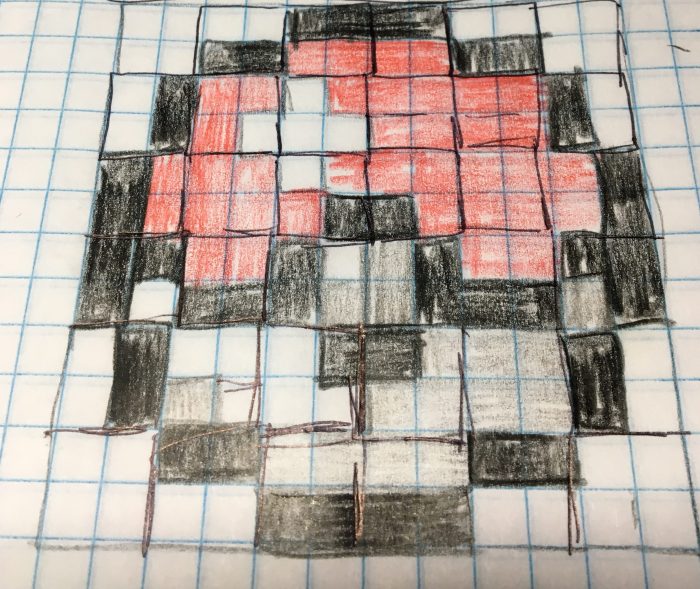
First I started with a drawing of a Pokeball on graph paper. I can’t claim originality on this one. I don’t know much about Pokeballs. I asked my teenage son what a good choice would be and he texted me a pixelated image of a pokeball and said he thought it was cool.
So I went with it.
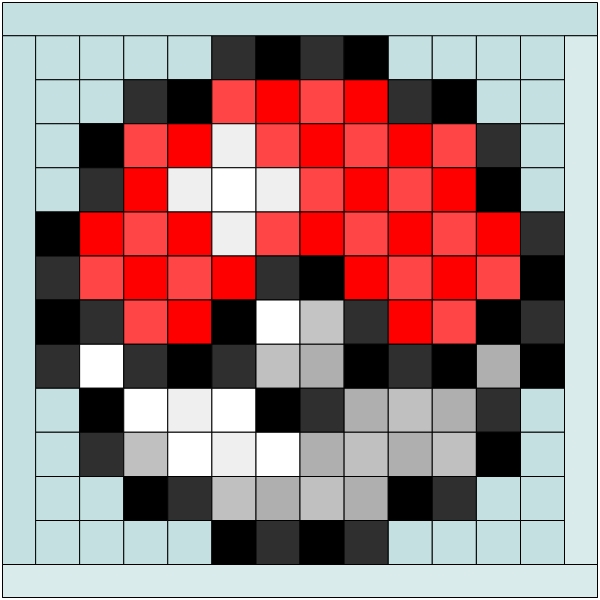
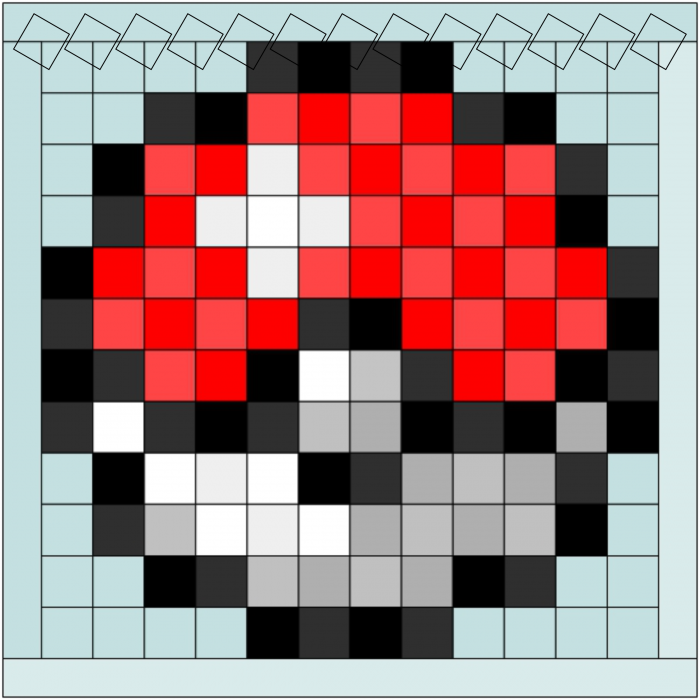
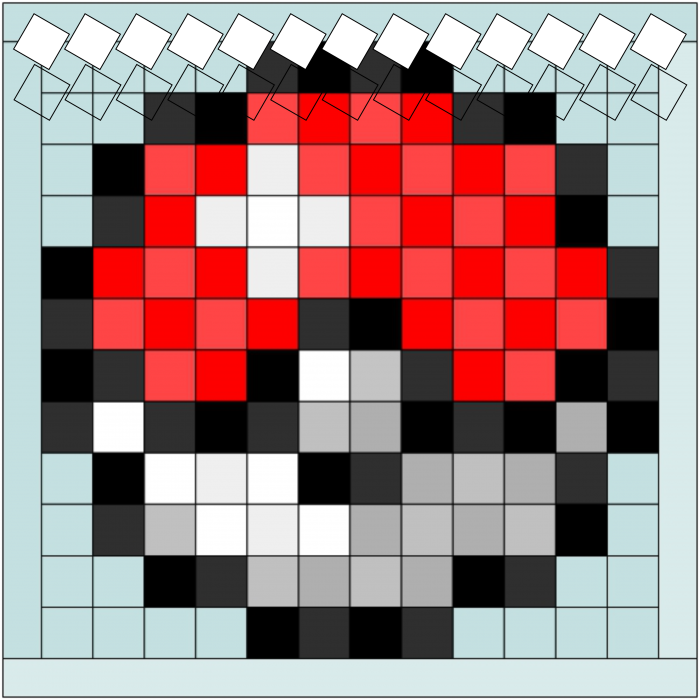
I mocked up the image in Electric Quilt 8, the software program to design quilts. I added more contrast between neighboring blocks. This is important for making the pinwheels stand out later. It also adds some nice depth to the image I think!
The blocks are 5″, which is the size needed for the Lil Twister Tool, and I added a 3″ border around the outside.
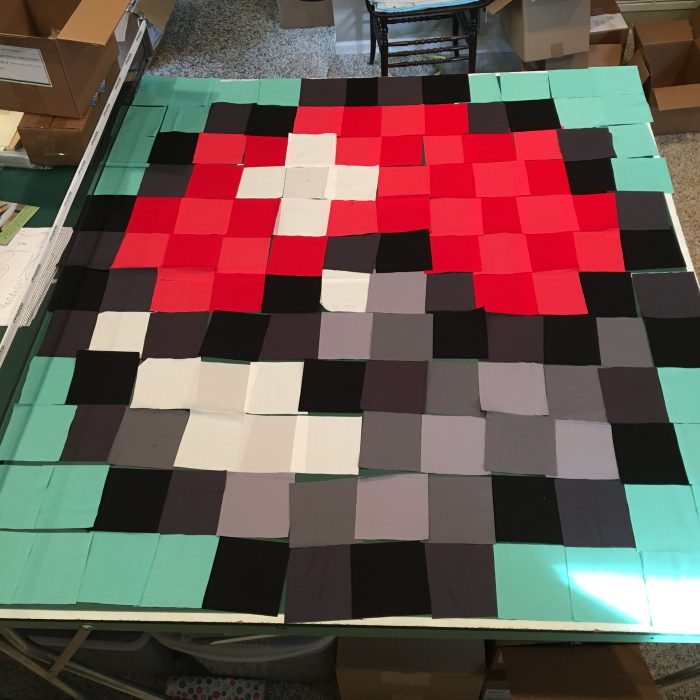
I cut out the blocks and arranged them on my ping pong table.
I sewed the blocks in rows and added the borders. I should have taken a picture of the final squares version but dang I forgot! But it looked just like the diagram so you get the idea:
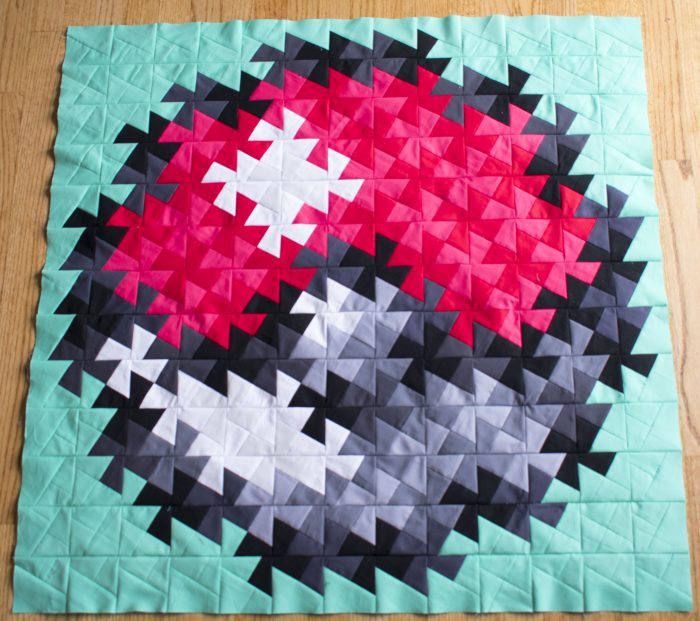
I thought the quilt looked pretty awesome. But I am a twister gal so I needed to “twist” the quilt into a Twister Pinwheel Quilt using the Lil’ Twister Tool. Read on to find out how that works!
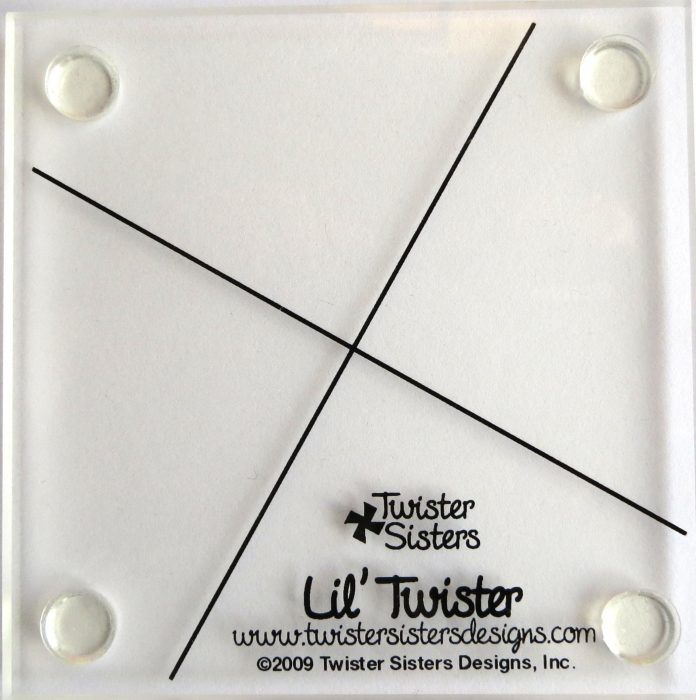
Here is the Lil’ Twister Tool:
The lines on the tool are aligned with the seam intersections on the quilt. So, you cut out blocks with the tool and sew them back together again. It’s that easy!
The 4 rubber bumpers on the tool keep the tool from sliding around on the quilt.
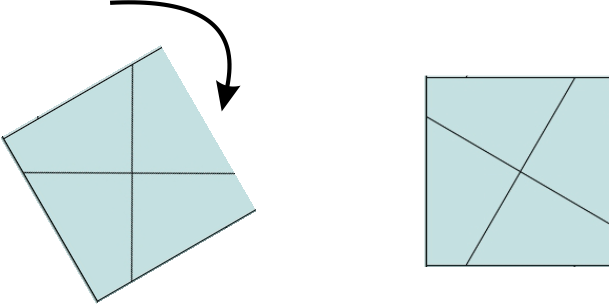
Start by cutting out the blocks on the first row, cutting around the Lil Twister with a rotary cutter.
After cutting each block, turn it or “twist it” clockwise a bit so that it is square.
Then sew the first row together:
Then cut out the second row.
Sew the second row together and then sew it to the first row. Now you can see the pinwheels start to form.
Cut the remaining rows in the same fashion until the whole quilt is assembled. Ta-da, you have a twister pinwheel quilt by just sewing together squares!
I still need to add borders to make the background larger. I am going to add more of the mint green solid to make it a large throw size.
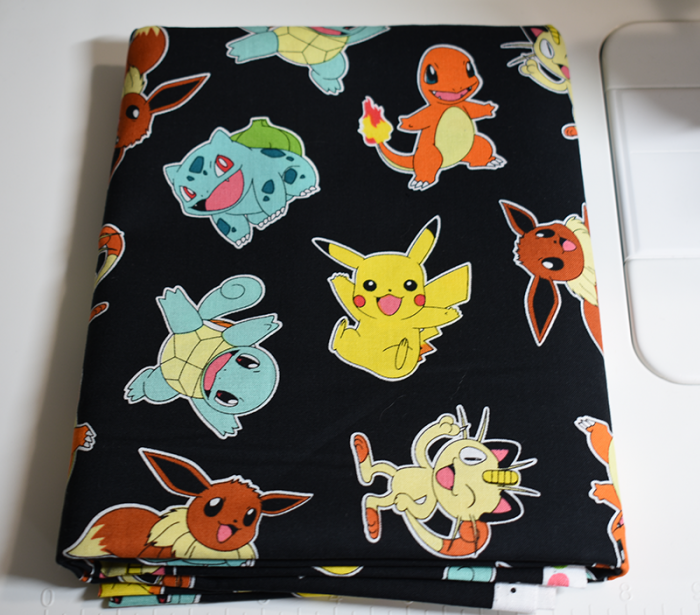
I also found this Pokemon fabric for the backing – so perfect!
I will share the finished quilt in a couple weeks. We’ll do some fun twister giveaways too. In the meantime……
Toni has an exciting giveaway you need to get signed up for!! Yes, GIVEAWAY, WOO HOO!!
There are 3 prizes for the blog hop, an Arrow Wicked Cosplay Hydraulic Sewing Chair, Gutermann thread, and Toni’s book of course! So don’t miss the chance to win some great prizes!
Here is the blog hop schedule. Follow along and enjoy the fun!



Nice way to put your own “twist” on it!!!