I am so excited to share with you the 21 Totes Project! I have been thinking about doing this for some time now and can’t wait to start sharing with you.
I always have WAY more ideas than I can do patterns for. Some of that is because I’m a perfectionist pattern writer so I am totally slow at pattern drafting, ha. It’s also just a function of life – like many of you, I have a family, have work outside of my pattern business and occasionally like to relax away from the sewing machine!!!
SO the 21 Totes Project is a creative project. Each Tote will explore something new, whether it be the shape itself, a particular technique, the materials, or some other design element. Maybe a few of these will become patterns, but this is way more about playing with fabric. Please share and comment and interact – that would be great!
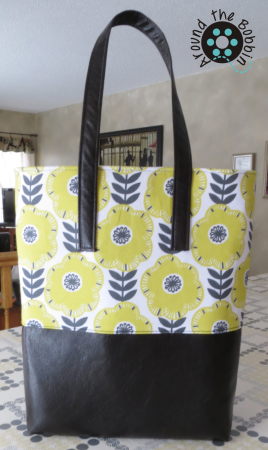
Tote #1 is a basic two-fabric tote. I have been wanting to try sewing with pleather for awhile but haven’t gotten around to it. Then, a new fabric store arrived in a neighboring suburb – SR Harris – and they carry these gorgeous pleathers, vinyls, suedes and canvas fabrics, all in addition to premium quilting fabrics, all at 50% off. How could I pass that up? It was time.
This tote is particularly nice for car rides in the winter (ahem, I live in Minnesota) and you don’t want to scum up your beautifully handmade bag with winter slush that’s on the floor of the car. It’s also great for a whole lot of other things — outdoor trips when you don’t want to get your bag muddy, for example.
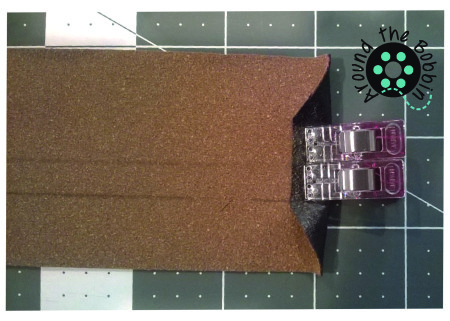
The bottom and the handle are made from pleather. This seemed like higher quality material than what I’ve seen before. If you look at the handle below, you can see that the backing is not the thick woven material that is sometimes fused onto the back of the pleathers. I found this material easy to work with, much easier than I expected. I did use a teflon foot though and that kept my machine from sticking to the front surface. I folded the handle in thirds and sewing on both long edges. The only hard part was getting my stitching as straight as it normally is as I was using a new foot and had to line it up a little differently.
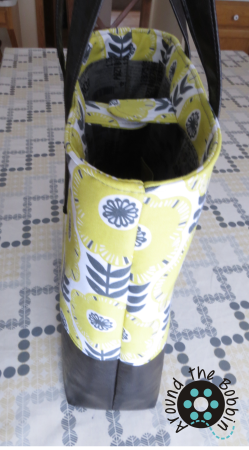
I boxed the bottom corners, so the construction was simple. I did use Sew Lazy Stiff Stuff interfacing behind the entire exterior layer to make the bag stand up, and my machine handled that just fine since the pleather was thin enough. I did have to trim the interfacing close to the stitching to reduce bulk.
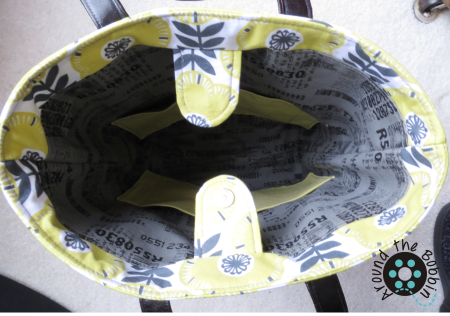
The bag closes with a snap closure with the tabs you can see below. I probably would trim these by a 1/4″ if I were to do this again, but I do like how the tabs help keep the shape of the bag.
A bag is only as good as its pockets. 😉 The two interior pockets are subdivided for pen pockets, a phone pocket and a couple more to store all the stuff that’ll go in there.
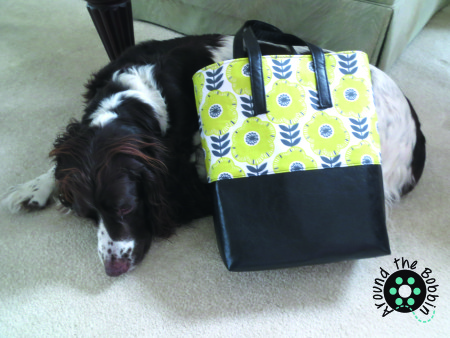
The family dog Ginger is waiting for a walk. Waiting so long in fact that she hardly noticed I was photographing her!
Thanks for stopping by. Twenty totes to go…. come back soon for the next one!
If you have an idea for a tote you’d like to see featured here, drop me a line!


I love it! I just learned how to do a zipper pouch so I want to move on to totes. I was wondering what you would recommend for me to start out. I can’t wait to see what you make, you are so inspiring and your colors are so beautiful! 🙂
tdkcarpenoctem@hotmail.com
Thanks for your kind thoughts, Tabitha! If you’ve made a zipper pouch, you will have no trouble with an easy tote. As far as guidelines go, I would recommend a basic boxed corner construction (like you see in this tote). You might want to start out with installing the zipper into the upper seam – that is more forgiving than sewing a handle directly on top of the exterior where all your stitching is on display. Also keep in mind that the lighter the interfacing, the easier the tote is to sew (although if you are like me and like your totes to stand up, you might still want to use the thicker stuff!). I will put out a basic tutorial soon!